Motorcycle Bill of Sale Form

Motorcycle Bill of Sale Form

Last updated February 3rd, 2024

  1. Home »
  2. Bill of Sale »
  3. Motorcycle

motorcycle bill of sale proves that a buyer paid a monetary sum in exchange for ownership rights to a motorcycle. The form is required in most states in order to complete the registration process.

Contents

What is a Motorcycle Bill of Sale?

A motorcycle bill of sale is a form that serves as a proof of purchase, giving the buyer written confirmation that they obtained a motorcycle through legal means. The form, in addition to the bike’s title, are both required for registering the newly acquired vehicle. The bill of sale will only be viewed as valid if it contains the electronic or hand-written signatures of both the buyer and seller.

How to Sell a Motorcycle
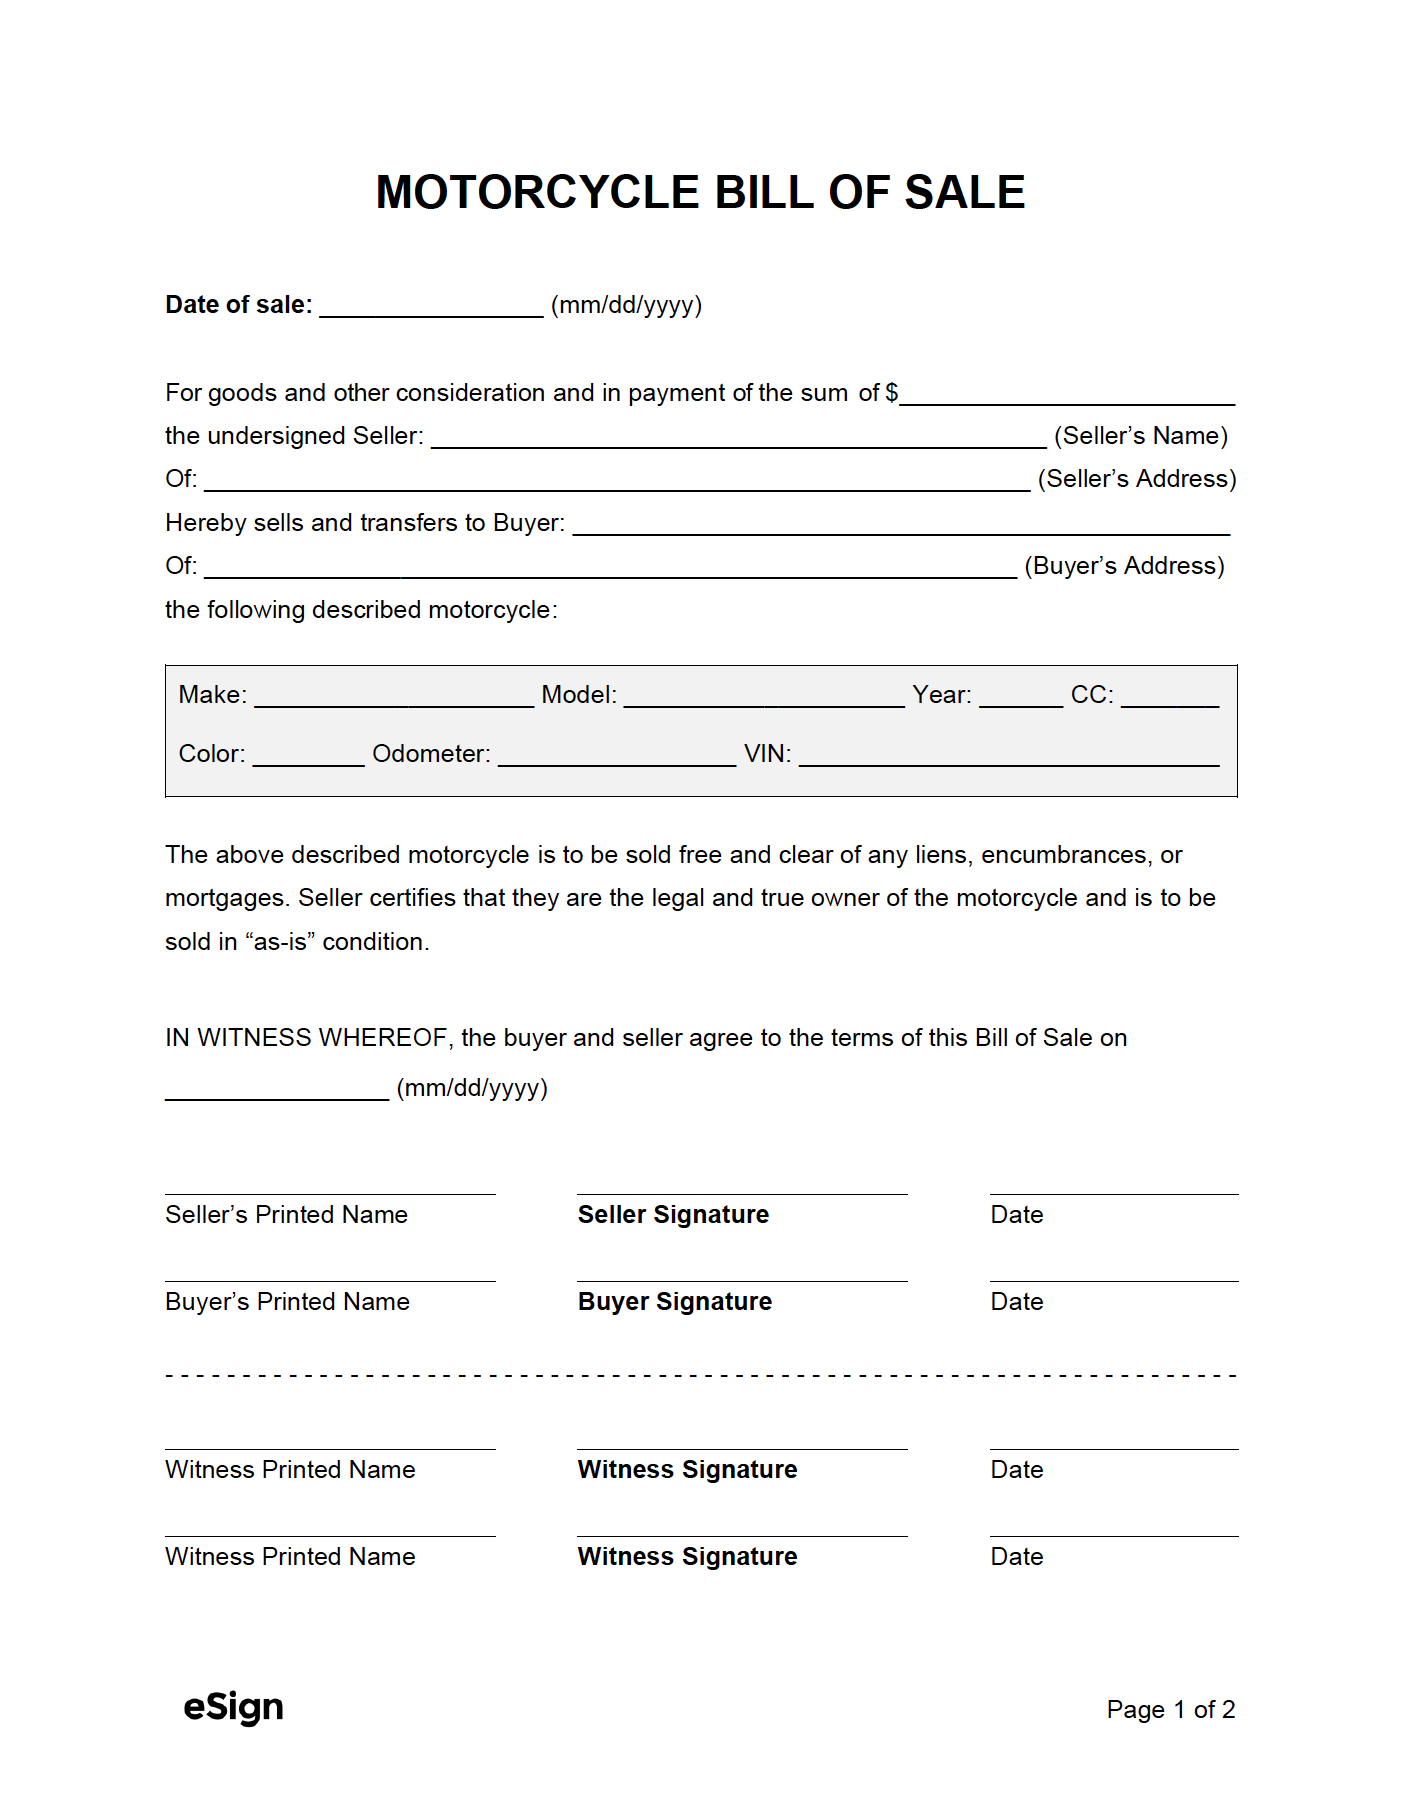
The process for selling a motorcycle shares many similarities with selling a motor vehicle.

Step 1 – Prep It

Give the motorcycle a thorough clean. Check for scuffs, damage, dry rot, missing parts, and anything else that may need to be replaced prior to listing the bike. Write down any and all issues that will not be fixed so they can be included in the listing as a disclaimer to potential buyers.

As long as the bike runs well, the tires are inflated, and there’s nothing mechanically dangerous, take the bike for a ride. Feel the suspension, shift through all gears, and test the front and back brakes. If the bike has not been inspected, having an inspection done prior to listing will increase buyer activity significantly, as an inspection sticker is seen as a badge that affirms it’s in riding condition.

Common post-winter issues:

If one is selling a bike after it’s been sitting for several months or longer, the areas that may need attention are:

  1. Carburetor – Clogs are common. This doesn’t apply to fuel-injected bikes
  2. Chain – A rusty chain should be replaced if it’s deeper than surface rust. Otherwise, slightly rusty or dirty chains should be cleaned and lubricated.
  3. Dead battery – Dead batteries should be put on a trickle charger. If it takes a charge, reinstall the battery and attempt to start the motorcycle. Otherwise, a new battery will need to be purchased.
  4. Dry rotted tires – Cracks along the sidewall of a tire are a telltale sign of dry rot, and should be replaced.
  5. Cables – The clutch and/or throttle cables may require lubrication or replacement entirely. Clutch cables having a slight “play” is normal.

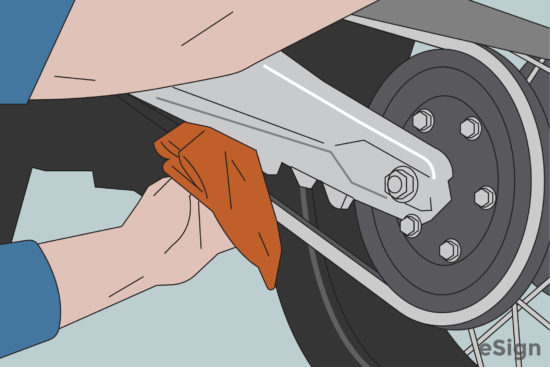
Step 2 – Take Pictures

The majority of smartphones can take high-quality photos. Take photos from all angles of the bike, including close-up pictures of the tires, chain, gauges, and any damage/scratches/dents. Don’t try and hide things from the buyer – being upfront and honest will make the selling process easier.

Step 3 – Set the Price

The market for motorcycles is the strongest in the spring/summer months. To get a good grasp of the price one should set for a motorcycle, consult the following resources:

Additionally, one should check the marketplaces listed in Step 4 to see reference prices. This allows sellers to see what motorcycles of the same make, model, mileage, and year are selling for.

Step 4 – List it Online

Listing the motorcycle online provides sellers with significant exposure, oftentimes for free. The following sites have large networks of interested motorcycle shoppers:

If the seller lives in a high-traffic area, displaying the bike outside with a “for sale” sign can increase potential leads. Be warned, however, that long-term outdoor storage could cause rust or sunspots to appear on the paint, as well as nesting animals.

Step 5 – Show + Negotiate

Communicate with potential buyers to arrange showings. If the seller wishes, they can permit potential buyers to take the motorcycle for a test ride.

Once an interested buyer makes an offer, the seller can either counter a higher price or accept the offer. Ideally, the seller should begin negotiation with a predetermined minimum amount they will accept for the bike. This prevents emotion and other variables from interfering with the deal.

Step 6 – Complete the Paperwork

Once the parties reach an agreement, the buyer will need to pay the seller. Payment should take place prior to signing the bill of sale. The seller will need to provide the title and completed bill of sale to the buyer. Both parties will need to sign their name on the document (use eSign to create legally-binding signatures for free). Once money has changed hands and the bill of sale has been signed, the transaction is be complete.

Registration Fees: By State
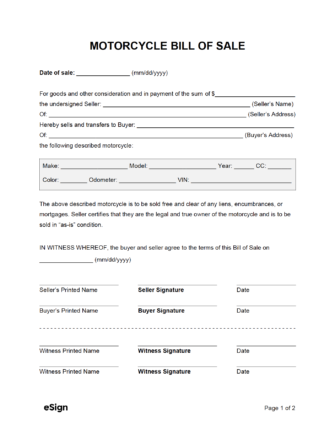
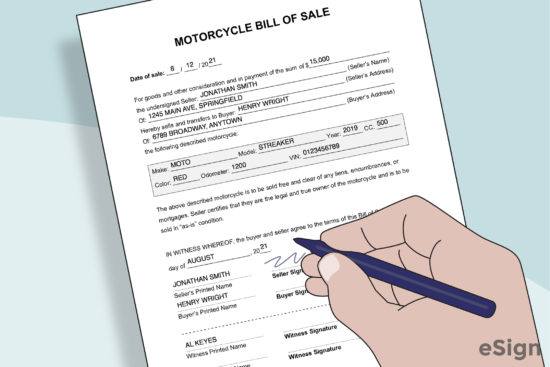
STATE MOTORCYCLE REG. FEES
Alabama Fee Schedule
Alaska Vehicle Registration Cost Calculator
Arizona Registration Fee Breakdown
Arkansas Fee Schedule
California Fee Calculators
Colorado § 42-3-306
Connecticut Fees for Registration
Delaware Fees
Florida Fees
Georgia Fees, Fines, & Penalties
Hawaii See Counties
Idaho Registration Fees
Illinois Fees
Indiana Fee Chart
Iowa Registration Fees
Kansas Registration Fees & Procedures
Kentucky Registration Renewal (Scroll)
Louisiana Registration Fees
Maine Registration Fees (by plate)
Maryland Fees for Registration Plates
Massachusetts Schedule of Fees
Michigan Fees for Registrations
Minnesota Tax Tables
Mississippi Tax Fees
Missouri Motor Vehicle Fees
Montana Vehicle Title & Registration
Nebraska Registration Fees & Taxes
Nevada Vehicle Registration Fees
New Hampshire Vehicle Registrations
New Jersey Registration & Title Fees
New Mexico Fees for Registering
New York Fees & Taxes
North Carolina Registration Fees
North Dakota Fee Schedules
Ohio BMV – All Fees
Oklahoma Tag, Tax, Title & Fees
Oregon Registration Fees
Pennsylvania Payments and Fees
Rhode Island Fee Schedule
South Carolina Registration Fees
South Dakota Registration Fees
Tennessee State Registration Fees
Texas Fee Chart
Utah Registration Fees
Vermont Registration Fees
Virginia DMV Fees
Washington Fee Information
West Virginia Fees Brochure
Wisconsin Vehicle Fees
Wyoming County-specific

Sample

Download: PDF, Word (.docx), OpenDocument

How to Write

Download: PDF, Word (.docx), OpenDocument

Step 1 – Date & Parties

Beneath the title of the form, enter the date the form is being completed. Then, enter the sale price of the motorcycle, followed by the name and address of the seller and buyer.

Step 2 – Motorcycle Information

Enter the following information pertaining to the motorcycle:

  1. Make (“Ducati”, “BMW”, “Yamaha”, etc.)
  2. Model (“Monster”, “S 1000 RR”, “XT250”, etc.)
  3. Year (e.g., “2012”)
  4. CC (e.g., “600”)
  5. Color (“Red”, “Blue/white”, “Purple”, etc.)
  6. Odometer (e.g., “1250”)
  7. VIN (the 17-character alphanumeric code specific to the motorcycle)

Step 3 – Signatures

On the three (3) lines provided, each party will need to enter the following information:

  1. Printed name
  2. Signature (by hand or via eSign)
  3. Signing date

Step 4 – Notarization (Optional)

If desired, either or both parties can have their signatures notarized. To do this, the party/parties must hold off on signing until they are with a notary public, whether acknowledgment is being completed online or in person. The notary public will direct the parties when to sign the document. Having signatures notarized is usually optional, but it adds an extra layer of validity the bill of sale. For example, if there was a lot of money involved in the exchange, and the buyer was worried about someone questioning their ownership, having the seller’s signed name notarized is a worthwhile step.