Livestock Sale Requirements
A bill of sale is almost always required when selling livestock. Some states also require that the signatures on the bill of sale be acknowledged by a witness or notary public.
It’s important to check with state laws and regulations to see if the following documentation is required in addition to a bill of sale:
- Certification of inspection (for brands or tags)
- Health certificates
- Sale permits or licenses
- Transportation permits (if crossing counties or states)
Types of Livestock
The form can be used for selling the following types of animals:
- Cattle
- Horses
- Sheep
- Pigs
- Goats
- Donkeys
- Llamas
- Buffalo
- Mules
- Camels
Sample
Download: PDF, Word (.docx), OpenDocument
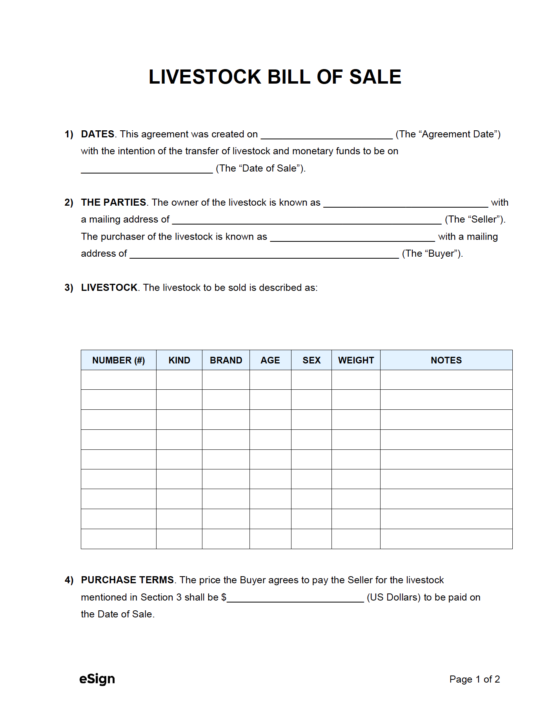
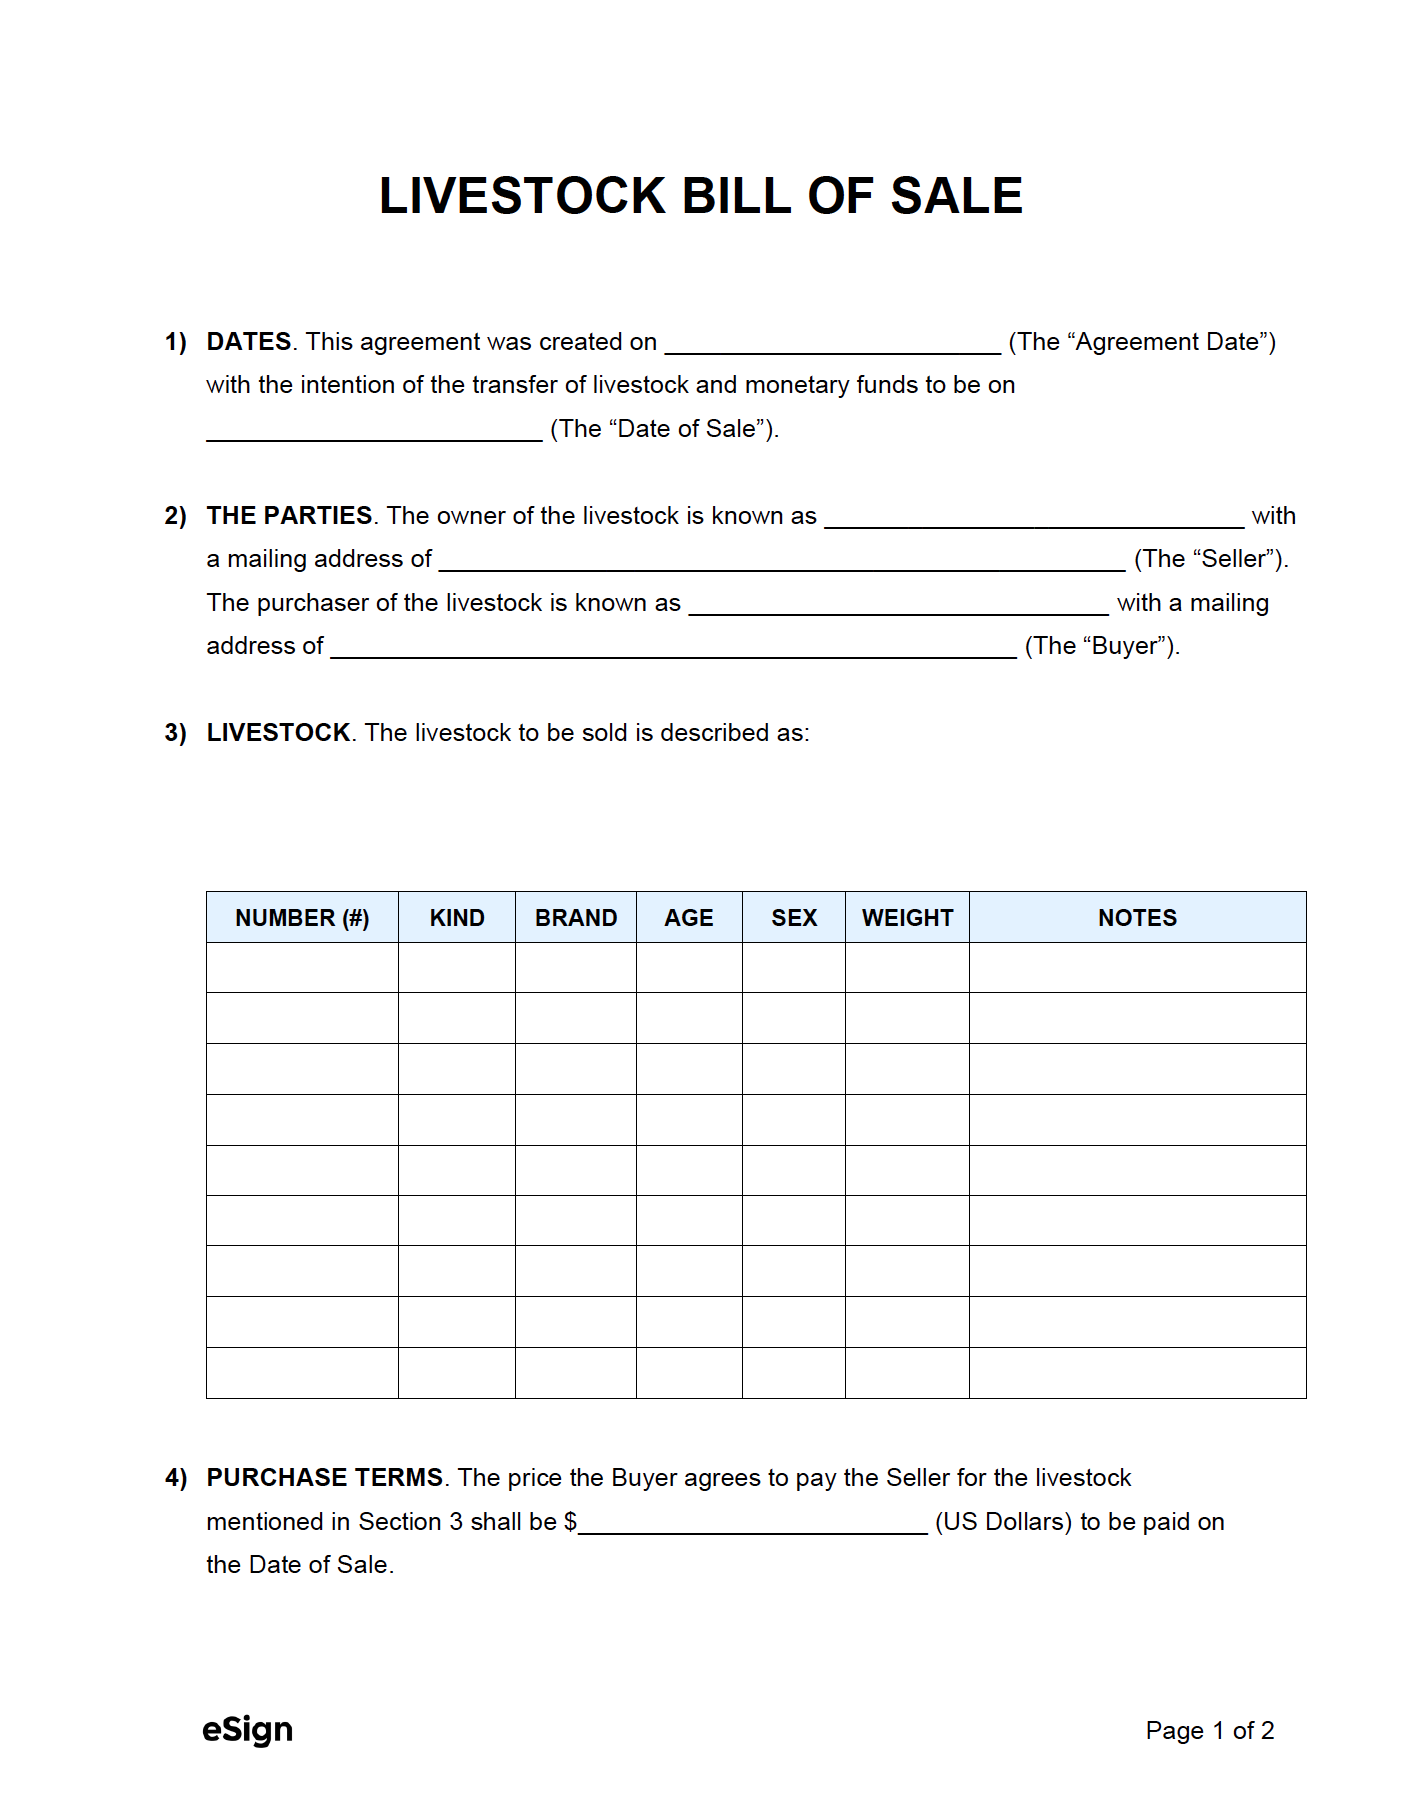
LIVESTOCK BILL OF SALE
1. DATE. This bill of sale was created on [MM/DD/YYYY] by:
2. THE PARTIES. This owner of the livestock is known as [SELLER NAME] with a mailing address of [SELLER ADDRESS]. The purchaser of the livestock is known as [BUYER NAME] with a mailing address of [BUYER ADDRESS].
3. LIVESTOCK. The livestock sold to the Buyer is described as:
Group 1
No. Head: [#]
Species/Breed: [TYPE OF LIVESTOCK]
Age: [#]
Sex: [MALE/FEMALE]
Weight: [# OF LBS]
Brands, Marks, Description: [BRAND/TAG, MARKS, ADDITIONAL DESCRIPTIONS]
Group 2
No. Head: [#]
Species/Breed: [TYPE OF LIVESTOCK]
Age: [#]
Sex: [MALE/FEMALE]
Weight: [# OF LBS]
Brands, Marks, Description: [BRAND/TAG, MARKS, ADDITIONAL DESCRIPTIONS]
4. PURCHASE TERMS. The price the Buyer paid the seller for the livestock mentioned in Section 3 is $[PURCHASE PRICE] (US Dollars) paid on [MM/DD/YYYY].
Seller Signature: _________________________ Date: [MM/DD/YYYY]
Printed Name: [SELLER NAME]
Buyer Signature: _________________________ Date: [MM/DD/YYYY]
Printed Name: [BUYER NAME]
Witness Signature: _________________________ Date: [MM/DD/YYYY]
Printed Name: [SELLER NAME]
Witness Signature: _________________________ Date: [MM/DD/YYYY]
Printed Name: [SELLER NAME]
ACKNOWLEDGMENT OF NOTARY PUBLIC
State of [NOTARY: STATE]
County of [NOTARY: COUNTY]
On [NOTARY: DATE], before me, [NOTARY: NOTARY NAME] personally appeared [NOTARY: BUYER NAME] and [NOTARY: SELLER NAME], proved to me on the basis of satisfactory evidence to be the persons whose names are subscribed to the within instrument and acknowledged to me that they executed the same in their authorized capacities and that by their signatures on the instrument, the persons or the entity upon behalf of which the persons acted, executed the instrument.
WITNESS my hand and official seal,
Notary Signature: ____________________ Date: [NOTARY: SIGNING DATE]
Printed Name: [NOTARY: NOTARY NAME]
My Commission Expires: [NOTARY: EXPIRATION]
(seal)


