 Adobe PDF
 Microsoft Word
 OpenDocument
Registration Requirements
Most states require trailers to be registered before they can be driven on public roads. The registration process is typically the same as that for a regular vehicle.
The buyer must prove ownership to complete registration, and whether or not a bill of sale is an acceptable document depends on local law requirements. Many states accept either the trailer’s title, Manufacturer’s Certificate of Origin (MCO), or a bill of sale as proof of ownership.
How to Register a Trailer
Step 1 – Gather Paperwork
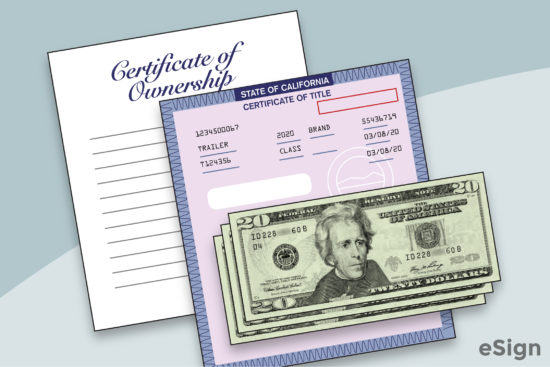
Before going to the local DMV, the new owner of the trailer must make sure they have proof of ownership (MCO, title, bill of sale, etc.), a completed application form, and enough money to pay the associated fees.
Step 2 – Visit the DMV
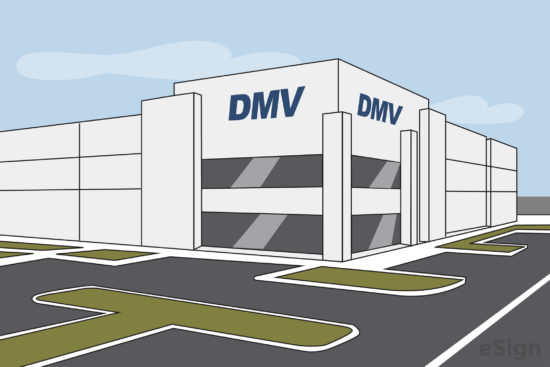
In most cases, a trailer can be registered through the local DMV in the same manner as a regular car. However, registration will vary depending on the state in which the owner resides, so checking registration requirements before going in can save time.
Step 3 – Pay the Fee
Registration fees depend on the state, the type of trailer, and whether it is used for personal or commercial hauling. After paying, the registrant will be given a plate. This must be attached to the trailer in a way that is clearly visible and doesn’t obstruct brake or tail lights.
Step 4 – Renew Registration

The buyer will need to renew their trailer registration on a regular basis. The timeframe for renewals is dependent on the state or county.
Sample
Download: PDF, Word (.docx), OpenDocument
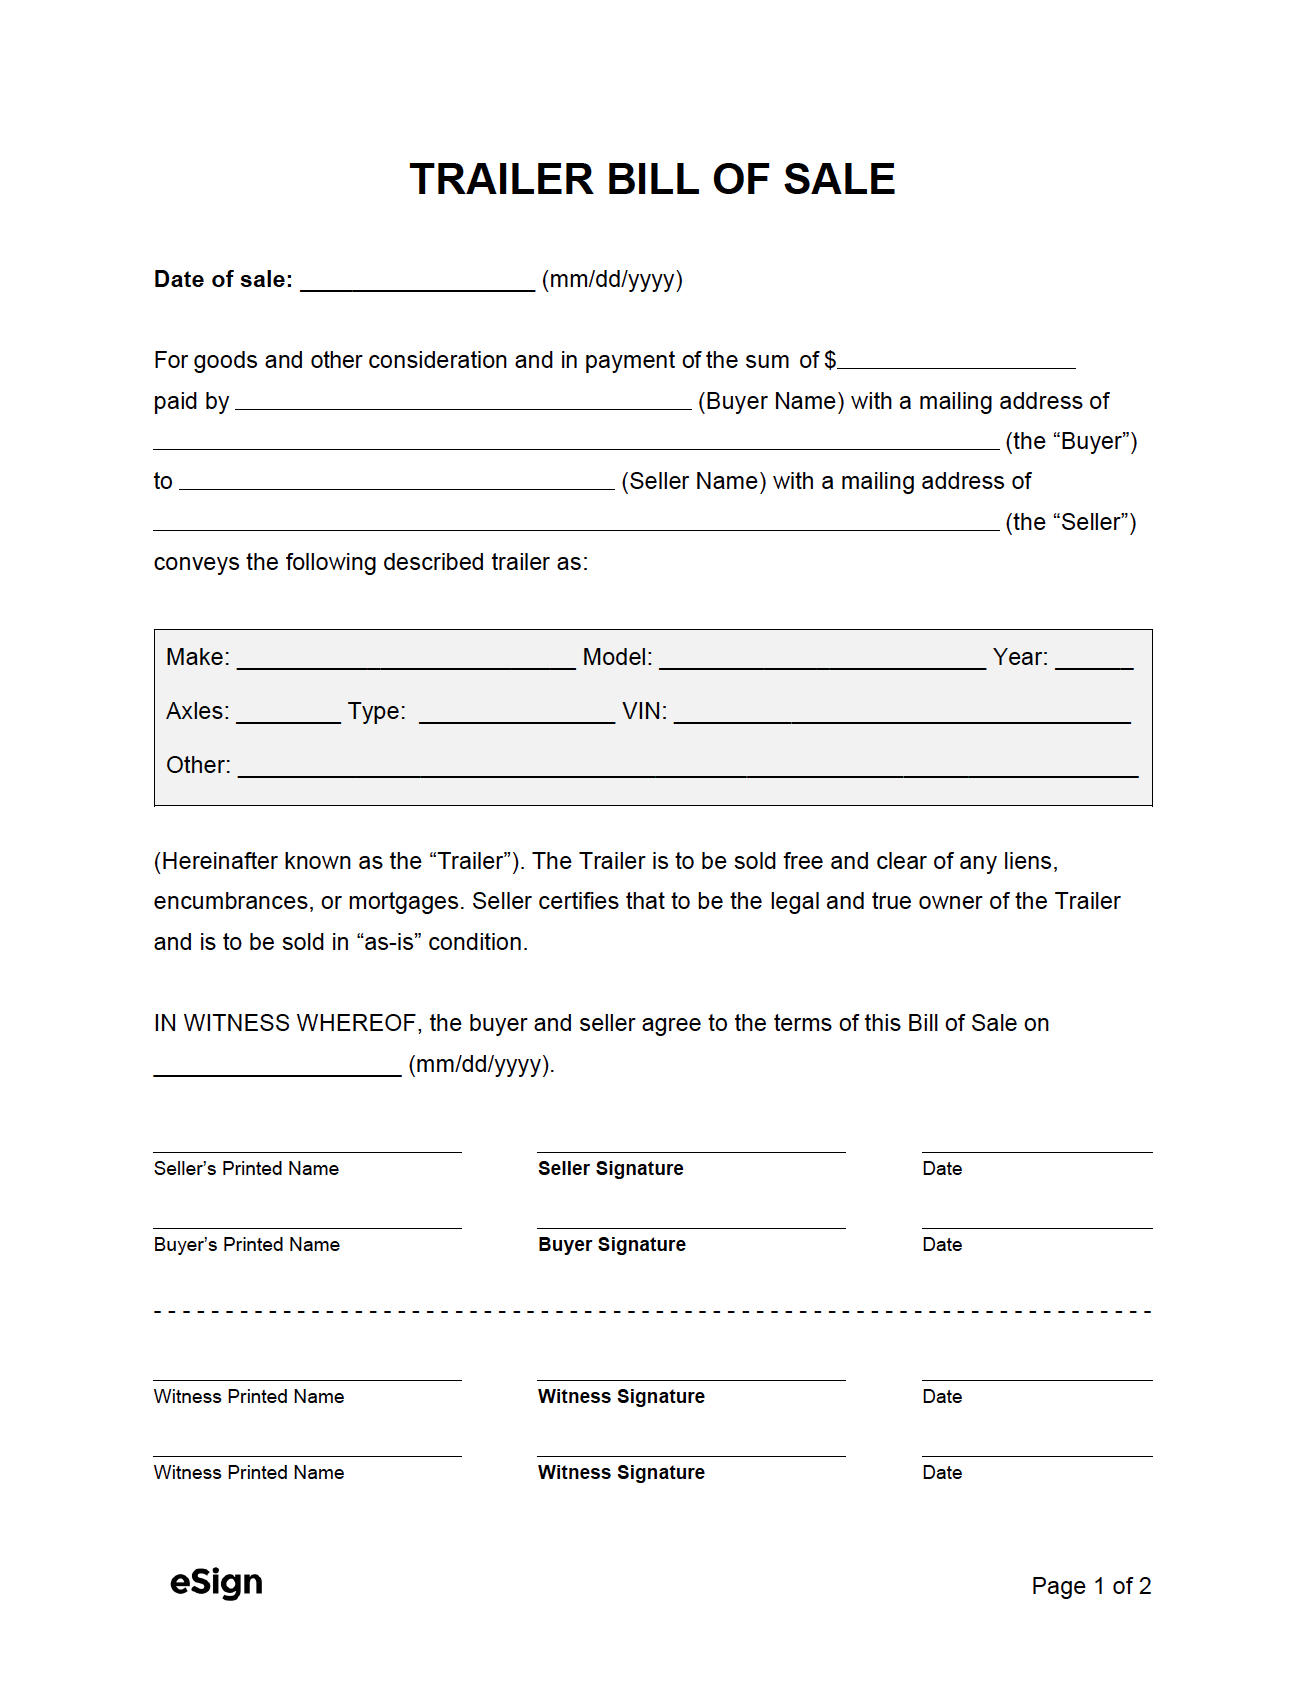
TRAILER BILL OF SALE
Date of sale: [MM/DD/YYYY]
In consideration of the sum of $[AMOUNT] paid by [BUYER NAME] with a mailing address of [BUYER ADDRESS] (the “Buyer”) to [SELLER NAME] with a mailing address of [SELLER ADDRESS] (the “Seller), the Seller hereby conveys the following described trailer:
Make: [MAKE] Model: [MODEL] Year: [YYYY] Axles: [#] Type: [TRAILER TYPE] VIN: [#] Other: [OTHER INFO]
Hereinafter known as the “Trailer.”
The Trailer is to be sold free and clear of any liens, encumbrances, or mortgages. Seller certifies that they are the legal and true owner of the Trailer and are selling it in “as-is” condition.
IN WITNESS WHEREOF, the Buyer and Seller agree to the terms of this Bill of Sale on [MM/DD/YYYY].
Buyer’s Signature: ____________________ Date: [MM/DD/YYYY]
Printed Name: [BUYER NAME]
Seller’s Signature: ____________________ Date: [MM/DD/YYYY]
Printed Name: [SELLER NAME]