 Adobe PDF
 Microsoft Word
 OpenDocument
What to Include (7)
- Date: The date the agreement is being completed should be clearly listed at the top of the document.
- Parties Involved: The names and addresses of the lender and borrower.
- Amount: The balance ($) the lender owes to the creditor. Interest rate, down payments, and payment instructions should also be included.
- Reason for Loan: Why the lender owes money to the creditor.
- Repayment Schedule: How the lender will go about paying off the balance (e.g., monthly payments).
- Default Terms: What happens in the event the lender stops making payments towards the balance.
- Execution: The agreement must be signed by the creditor and lender in order to be legally binding.
Optional Terms (4)
To create a more robust and effective agreement, the following conditions can be added to the agreement:
- Discounted Balance: A condition that allows the creditor to reduce the total balance the lender is required to pay.
- Late Payment Penalties: Establishes the consequences or fees should the lender miss or underpay on a payment.
- Prepayment Penalty: Used for regulating (or outright denying) the lender’s option to pay the balance early.
- Co-Signer (guarantor) : The creditor can require high-risk lenders to have a co-signer on the agreement.
Sample
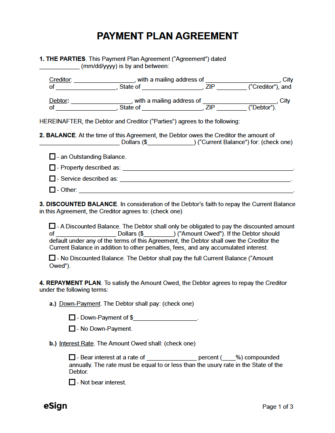
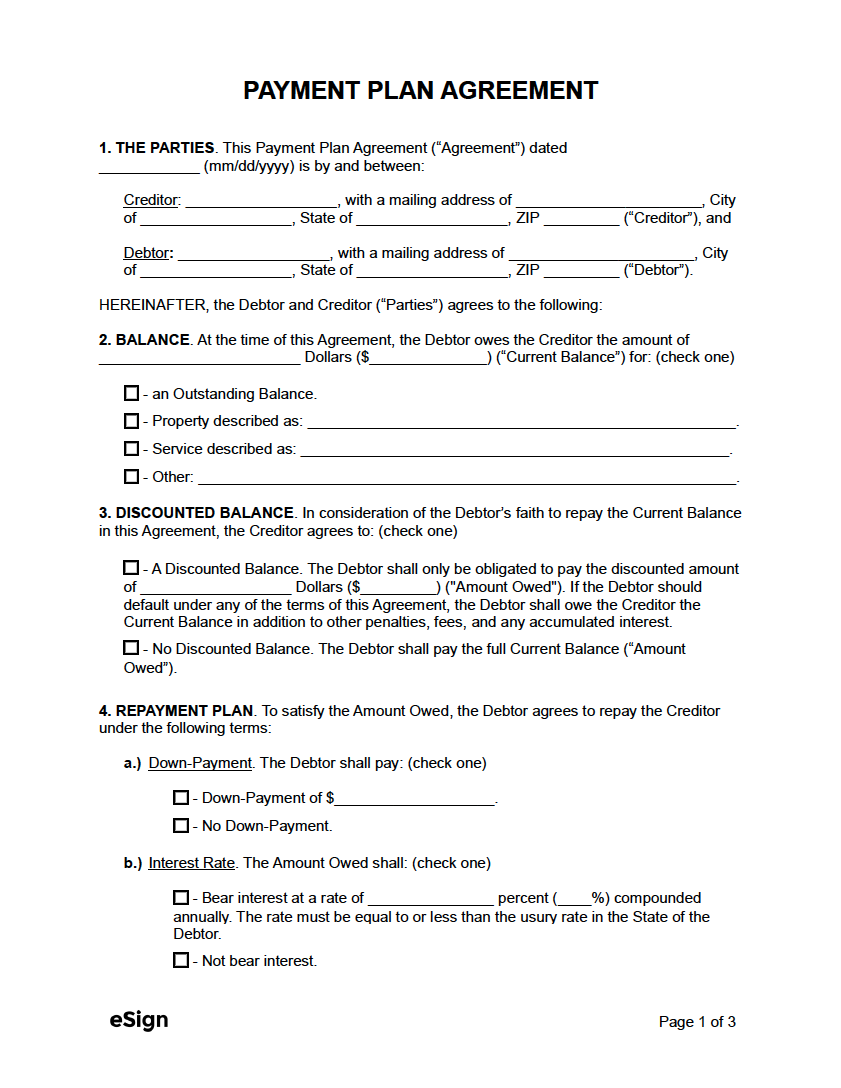
PAYMENT PLAN AGREEMENT
1. THE PARTIES. This Payment Plan Agreement (“Agreement”) is entered into on [DATE], by and between:
Borrower: [BORROWER’S NAME] with a mailing address of [BORROWER’S ADDRESS] (“Borrower”), and
Lender: [LENDER’S NAME] with a mailing address of [LENDER’S ADDRESS] (“Lender”).
2. AMOUNT BORROWED. It is acknowledged that the Lender has given a loan to the Borrower in the amount of $[AMOUNT] at an annual interest rate of [#]% for the purpose of: [REASON FOR LOAN]
3. PAYMENT SCHEDULE. Borrower agrees to make payments equal to $[AMOUNT] towards the total debt to be made: (check one)
☐ – Weekly. Payments are to be made every [WEEKDAY].
☐ – Monthly. Payments are to be made every [DAY OF THE MONTH].
☐ – Other. [DESCRIBE]
Payments shall be due in accordance with the payment scheduled herein until the amount borrowed is paid.
4. LATE PAYMENTS. Payments not made within [#] day(s) after the due date may incur a late fee of: [DESCRIBE LATE FEE]
5. PRE-PAYMENT. Regarding pre-payment, the Borrower is: (check one)
☐ – Allowed to Pre-pay. Borrower can pre-pay the amount borrowed, in-full, at any time and without penalty.
☐ – Not Allowed to Pre-pray. Borrower cannot pre-pay the amount borrowed without a penalty of: [DESCRIBE PRE-PAYMENT PENALTY]
6. DEFAULT. Failure to make payments as agreed will result in a default, allowing Lender to take legal action to recover the debt. This Agreement shall be governed under the laws in the State of [STATE].
Borrower’s Signature: _______________________ Date: __________
Print Name: _______________________
Lender’s Signature: _______________________ Date: __________
Print Name: _______________________