 Adobe PDF
 Microsoft Word
 OpenDocument
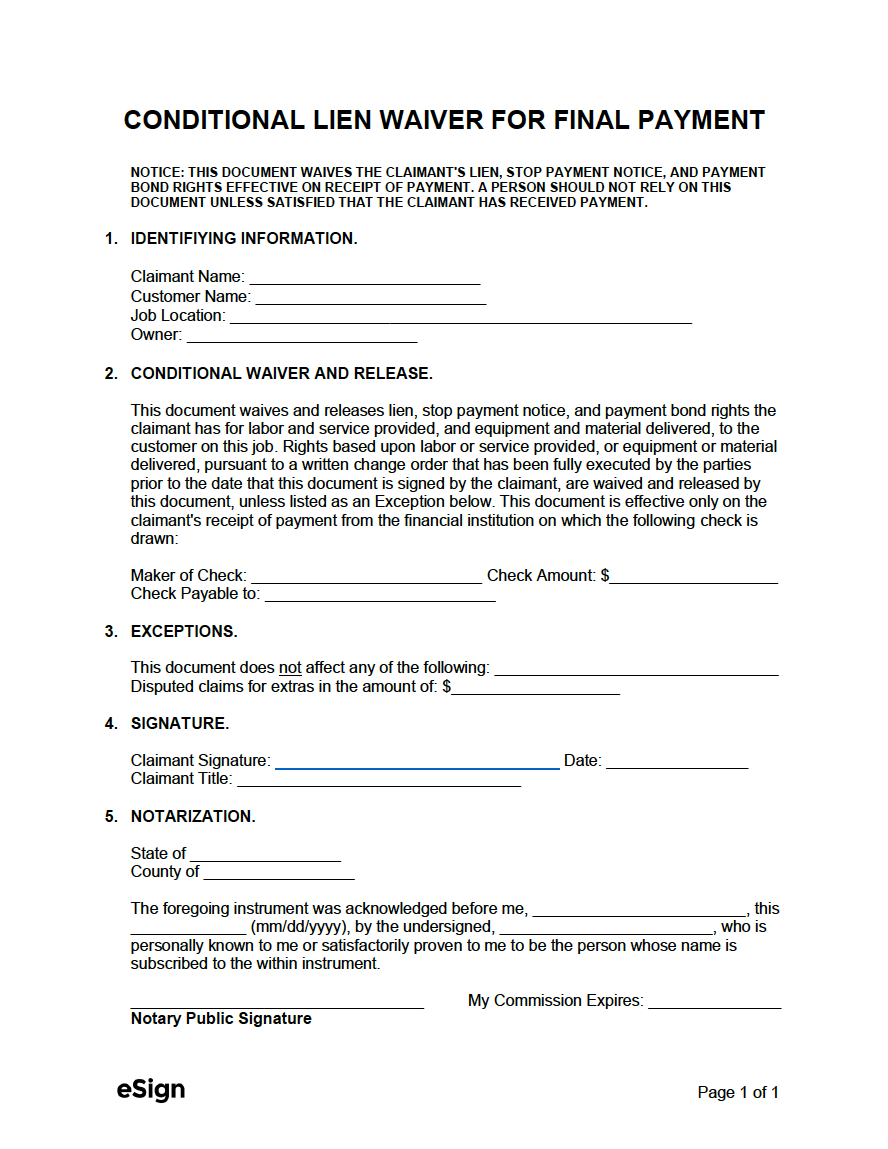
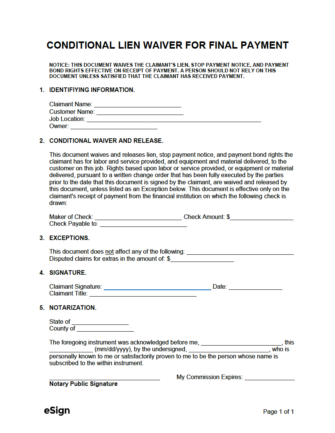
A conditional lien waiver for final payment is a document used in construction to remove a contractor’s ability to file a lien on a property upon receiving their last payment for services completed. Because the form is conditional, the contractor retains their right to file a lien until they have the money in hand. Unlike waivers for progress payments, this form should be used once the contractor has finished all of their work on the construction site.
When to Use
- The claimant has not yet received payment; and
- The claimant has completed all service(s) as stated in their contract.
How to Write
Download: PDF, Word (.docx), OpenDocument
Step 1 – Identifying Information
The first section is used to describe the parties and the property where services have been provided.
- Claimant Name: The first field is for recording the claimant’s full name. The claimant is the contractor/subcontractor/laborer that completed all of their service(s) on the property. If the claimant has not finished working on the property or they will be receiving future payment(s), the conditional waiver for partial payment should be used instead.
- Customer Name: This field is for providing the full name of the person that hired the claimant (most likely the general contractor).
- Job Location: The full address of the property in which construction took place.
- Owner: The full name of the person that owns the property.
Step 2 – Conditional Waiver and Release
This section confirms the claimant’s right to file a lien until their payment for services has been received. The following information will need to be entered:
- Maker of Check: This is the full name of the person that will be writing the check to the claimant for the money they are owed.
- Check Amount: The final payment amount ($) the claimant will be receiving.
- Check Payable To: This is the full name of the claimant or the claimant’s company (if applicable).
Step 3 – Exceptions (Optional)
If the waiver does not affect anything specifically (such as certain contract rights), the exception(s) should be written on the first line. On the next line, enter the amount ($) of any claims that are under dispute. If there are none, the line can be left blank.
Step 4 – Signature
In order for the lien waiver to be legally binding, it must contain the claimant’s signature. The signature can be written by using eSign or by printing the form and having the claimant sign by hand. The claimant will also need to write the date (mm/dd/yyyy) they signed and their title (if the claimant is a company; e.g., secretary, accountant, attorney).
Step 5 – Notarization
The claimant must have their signature notarized if they completed work on a property located in Mississippi, Texas or Wyoming. The fields in Section 5 should only be completed by a Notary Public. If the Claimant will not get the form notarized, these fields should be left blank.